Archive | My favourite recipes RSS feed for this section

Chunky chilli, spicy and low in calories!

26 Feb

 How often do people start a weight loss programme and give in because the food is tasteless and boring.  This dish is just what the doctor ordered, Chili con carne!  I am using another Judith Wills recipe from her book of low fat meals, and I have made it more times than I can remember.  I love the rich flavour and the chunks of beef that gives a much better texture than mince, more commonly used in chilli.  I’m making a huge pan full today, enough for our dinner, meals on wheels for my kids and, hopefully, some left over to freeze for another day.  It’s great served with jacket potatoes, topped with grated cheddar, or simply with rice and maybe a side salad.

Chilli con carne is simply a spicy stew, derived from the Spanish Chilli con carne, and is the official dish of Texas.  In the 1880’s, brightly dressed Hispanic women known as ‘chili queens’ would light fires of wood or charcoal around downtown San Antonio, in areas where the public were likely to gather, and reheat huge cauldrons of precooked chili to serve to passers-by.  The aromas coming from their pots was a potent sales pitch and soon they were accompanied by groups of musicians to make it more of a carnival atmosphere.  In 1937, new sanitary laws came into force, requiring the chili queens to adhere to the same standards as restaurants.  I can hear all the shouts of ‘Health and Safety spoil things again!’.  The street cuisine disappeared overnight, although there was a brief remission in 1939, the laws were made permanent in 1943.

Last year we grew chillies for the first time.  If you have ever done this, you will know how profuse the chillies are on the plant.  I think we must have had at least one hundred.  If you find yourself in the same boat, and don’t know what to do with them, they freeze beautifully, whole, exactly as they are when you pick them.  When you are ready to use simply take a frozen chilli out and it can be used whole, sliced or chopped from frozen.  If you don’t want the seeds, simply knock them out of the frozen slices before you chop.

There are an incredible number of recipes to be found for Chilli con carne, most of which contain beans and tomatoes.  This is my favourite and I promise, you will never know it is low-calorie!  For those on a Slimming World diet, by my calculations, free if you use the spray oil and only 3 for people if you measure the oil accurately.


Chilli con carne     Serves 4

  • 1.5 tsp groundnut oil or Fry light sunflower oil spray 
  • 400g (about 1 lb) braising steak, trimmed of fat and sinews, and cut into about 1/2 inch cubes
  • 2 medium onions, peeled and finely chopped
  • 1 red pepper. deseeded and cut into 1/2 inch pieces
  • 1 clove garlic, crushed
  • 2 fresh red jalapeno chillies, chopped (leave the seeds in if you like your chilli hot)
  • 1 tsp Tabasco sauce
  • 1 tsp cumin
  • 1 tsp paprika
  • 400g can chopped tomatoes
  • 1 tbsp tomato puree
  • 400g can red kidney beans, drained
  • 250ml beef stock
  • salt and black pepper
  • Chopped coriander to serve (optional)
  1. Heat half the oil in a large, lidded, non-stick pan and fry the meat over a high heat until brown all over.  Do this in batches rather than overfill the pan as the meat will steam rather than fry.  Remove the meat with a slotted spoon and reserve.
  2. Add the rest of the oil, reduce the heat and saute the onion, garlic, chillies and pepper for 10 minutes.  Stir occasionally and be careful they do not burn.
  3. Add the paprika, Tabasco and cumin, stir and cook for 1 minute more.
  4. Pour in the tomatoes, tomato puree, beans, stock and seasoning, stir well, bring to the boil then reduce the heat to low.  Return the meat to the pan, check for seasoning and ‘hotness’ then cover and simmer for 2 – 2.5 hours until the sauce is thick and rich and everything is tender.

NB:  The heat of the chilli will mature during cooking so when you test for ‘hotness’ you will need to account for this.  It is better to add a bit more Tabasco at the end than try to reduce the heat, which is almost impossible. 

This slideshow requires JavaScript.

Spicy potatoes with spinach

10 Aug

DSCI0052I love spinach, especially in curries.  One of my favourite side dishes is sag aloo. I have tried many recipes but, until now, have been disappointed.  This recipe is not a traditional sag aloo but it is delicious and, for me, is exactly what I want to accompany an Indian meal.

Full of nutrients and delicious taste, spinach is a winter superfood. But  what’s the best way to eat it? Here are a few tips, courtesy of Care2 website.

  • It’s wiser to choose tender baby spinach leaves. The larger the leaves, the  more mature they are and more likely to be tough or stringy.
  • Spinach  leaves that are placed under direct light in the stores have been found to  contain more nutrients than those stored in darkness.
  • Cooking spinach actually increases its health benefits!  Just half a cup of cooked spinach will give you three times as much nutrition as one  cup of raw spinach. That’s because the body cannot completely break down and use the  nutrients in raw spinach.
  • As an exception to the advice above, research studies show that taking  spinach in juice form is actually the healthiest way to consume it. Blend  spinach with other vegetables or fruits to create a delicious glass of juice.
  • There’s a compound in spinach called oxalic acid, which blocks the  absorption of calcium and iron. An easy way to solve this problem is to pair  spinach with a food high in vitamin C.
  • Freezing spinach diminishes its health benefits. The way to get the best  from the leaf is to buy it fresh and eat it the same day.
  • Do place spinach on your ‘organic shopping’ list, because the leaf tends to  be sprayed heavily with pesticides that don’t come off with normal washing.
  • Everyone talks about the benefits of spinach in nourishing the eyes and  building bones. What few know is that it also very good for digestion. Spinach  eases constipation and protects the mucus lining of the stomach, so that you  stay free of ulcers.  It also flushes out toxins from the colon.
  • Another lesser known benefit of spinach is its role in skin care. The bounty  of vitamins and minerals in spinach can bring you quick relief from dry, itchy  skin and lavish you with a radiant complexion. Regular consumption of fresh,  organic spinach juice has been shown to improve skin health  dramatically.

Read more: http://www.care2.com/greenliving/8-surprising-health-facts-about-spinach.html#ixzz2UwrG42ip

Well, here is the recipe.  Hope you like it.

Spicy potatoes and spinach                                     Serves 2-4 (depending on using as a main or side dish)

  • 400g waxy new potatoes (I used Charlotte), cut into 1 inch pieces
  • 2 tbsp sunflower oil
  • 1/2 tsp fennel seeds
  • 1 x 2 inch piece of cinnamon stick, halved
  • 1/2 tsp ground cumin
  • 1 onion, thinly sliced
  • 1 tsp ginger paste (or 1 inch root ginger peeled and grated)
  • 1 clove garlic, crushed
  • 1 tsp ground coriander
  • 1/2 tsp ground turmeric
  • 1/4 tsp hot chilli powder
  • 200g chopped canned tomatoes
  • 1/2 tsp salt
  • 200 ml warm cooking liquid (reserved from potatoes)
  • 1 bag washed and ready to eat baby leaf spinach
  1. Cook the potatoes in boiling salted water for about 10 minutes or until just tender.
  2. Heat the oil in a large non-stick pan or wok and add the fennel seeds and cinnamon stick.  Cook for a few seconds then add the onion, garlic and ginger.  Fry over a medium heat for about 5 – 10 minutes or until the onion is soft and just turning colour.
  3. Reduce the heat to low and add the coriander, cumin, turmeric and chilli powder. Stir fry for about 30 seconds then add the tomatoes. Increase the heat and cook until the tomato juice has evaporated.
  4. Cook the spinach as per instruction on packet. Drain and squeeze out excess juice then chop roughly and add to the tomatoes with the potatoes and 200 ml of the potato cooking water.  Season with the salt. Mix well and when warmed through, serve.

This slideshow requires JavaScript.

Raspberry and Orange Tiramasu

21 Jul

DSCI0653I am not a lover of traditional Tiramasu, but this version is absolutely delicious.  I gave the recipe to a friend of mine recently who wanted a large pudding for guests coming for lunch.  This is a large pudding and a little goes a long way as it is quite rich. He made the pudding and all his guests were ecstatic. From what he said I think he will be making it again in the future by popular request.

The Italian translation for tiramisu is “carry me up.” Also known as Tuscan Trifle. Tradition tiramisu is a pudding-like dessert that usually consists of sponge cake or ladyfingers dipped in a liqueur, then layered with grated chocolate and rich custard. Tiramisu was originally made as a loose custard, it is only in recent years that using mascarpone cheese has come into fashion.  It was first made, according to researchers, in the 1970’s but there is a story that believes it was made much earlier than that, in fact in the 1600’s. The story goes that a dessert similar to tiramisu was created in Siena, in the northwestern Italian province of Tuscany. The occasion was a visit by Grand Duke Cosimo de’ Medici III (1642-1723), in whose honor the concoction was dubbed zuppa del duca (the “duke’s soup”). He brought the recipe back with him to Florence. In the 19th century, tiramisu became extremely popular among the English intellectuals and artists who lived in Florence. The dessert made its way to England, where its popularity grew. (Linda Stradley, What’s cooking America)

Well, here is the recipe. I didn’t have any Grand Maniere when I made this so substituted half and half brandy. It was delicious.

Raspberry and Orange Tiramasu                   Serves at least 6

  • 6 egg yolks
  • 175g/6oz caster sugar
  • 284g double cream
  • 2 x 250g tubs mascarpone
  • 2 tbsp vanilla extract
  • 100ml freshly squeezed orange juice
  • 100ml Gran Maniere (or half brandy half Quantro)
  • 24 sponge fingers
  • 350g/12 oz fresh raspberries
  1. Place a heatproof bowl over a pan of simmering water. In the bowl, whisk the egg yolks and caster sugar together until pale, creamy and doubled in volume. Remove from heat and whisk for 1 minute to cool.
  2. In another bowl beat together the cream, mascarpone and vanilla extract until combined, thick and creamy. Fold into the creamy yolks.
  3. Combine the orange juice and Gran Maniere then dip in half of the sponge fingers and arrange over the bottom of a serving dish. Pour over half the creamy mixture then top with most of the raspberries (reserve some of the best for decorating the top).  Repeat layers finishing by decorating the top with raspberries.
  4. Cover and chill for 2 hours.


This slideshow requires JavaScript.

Sweet and sour prawns

17 Jul

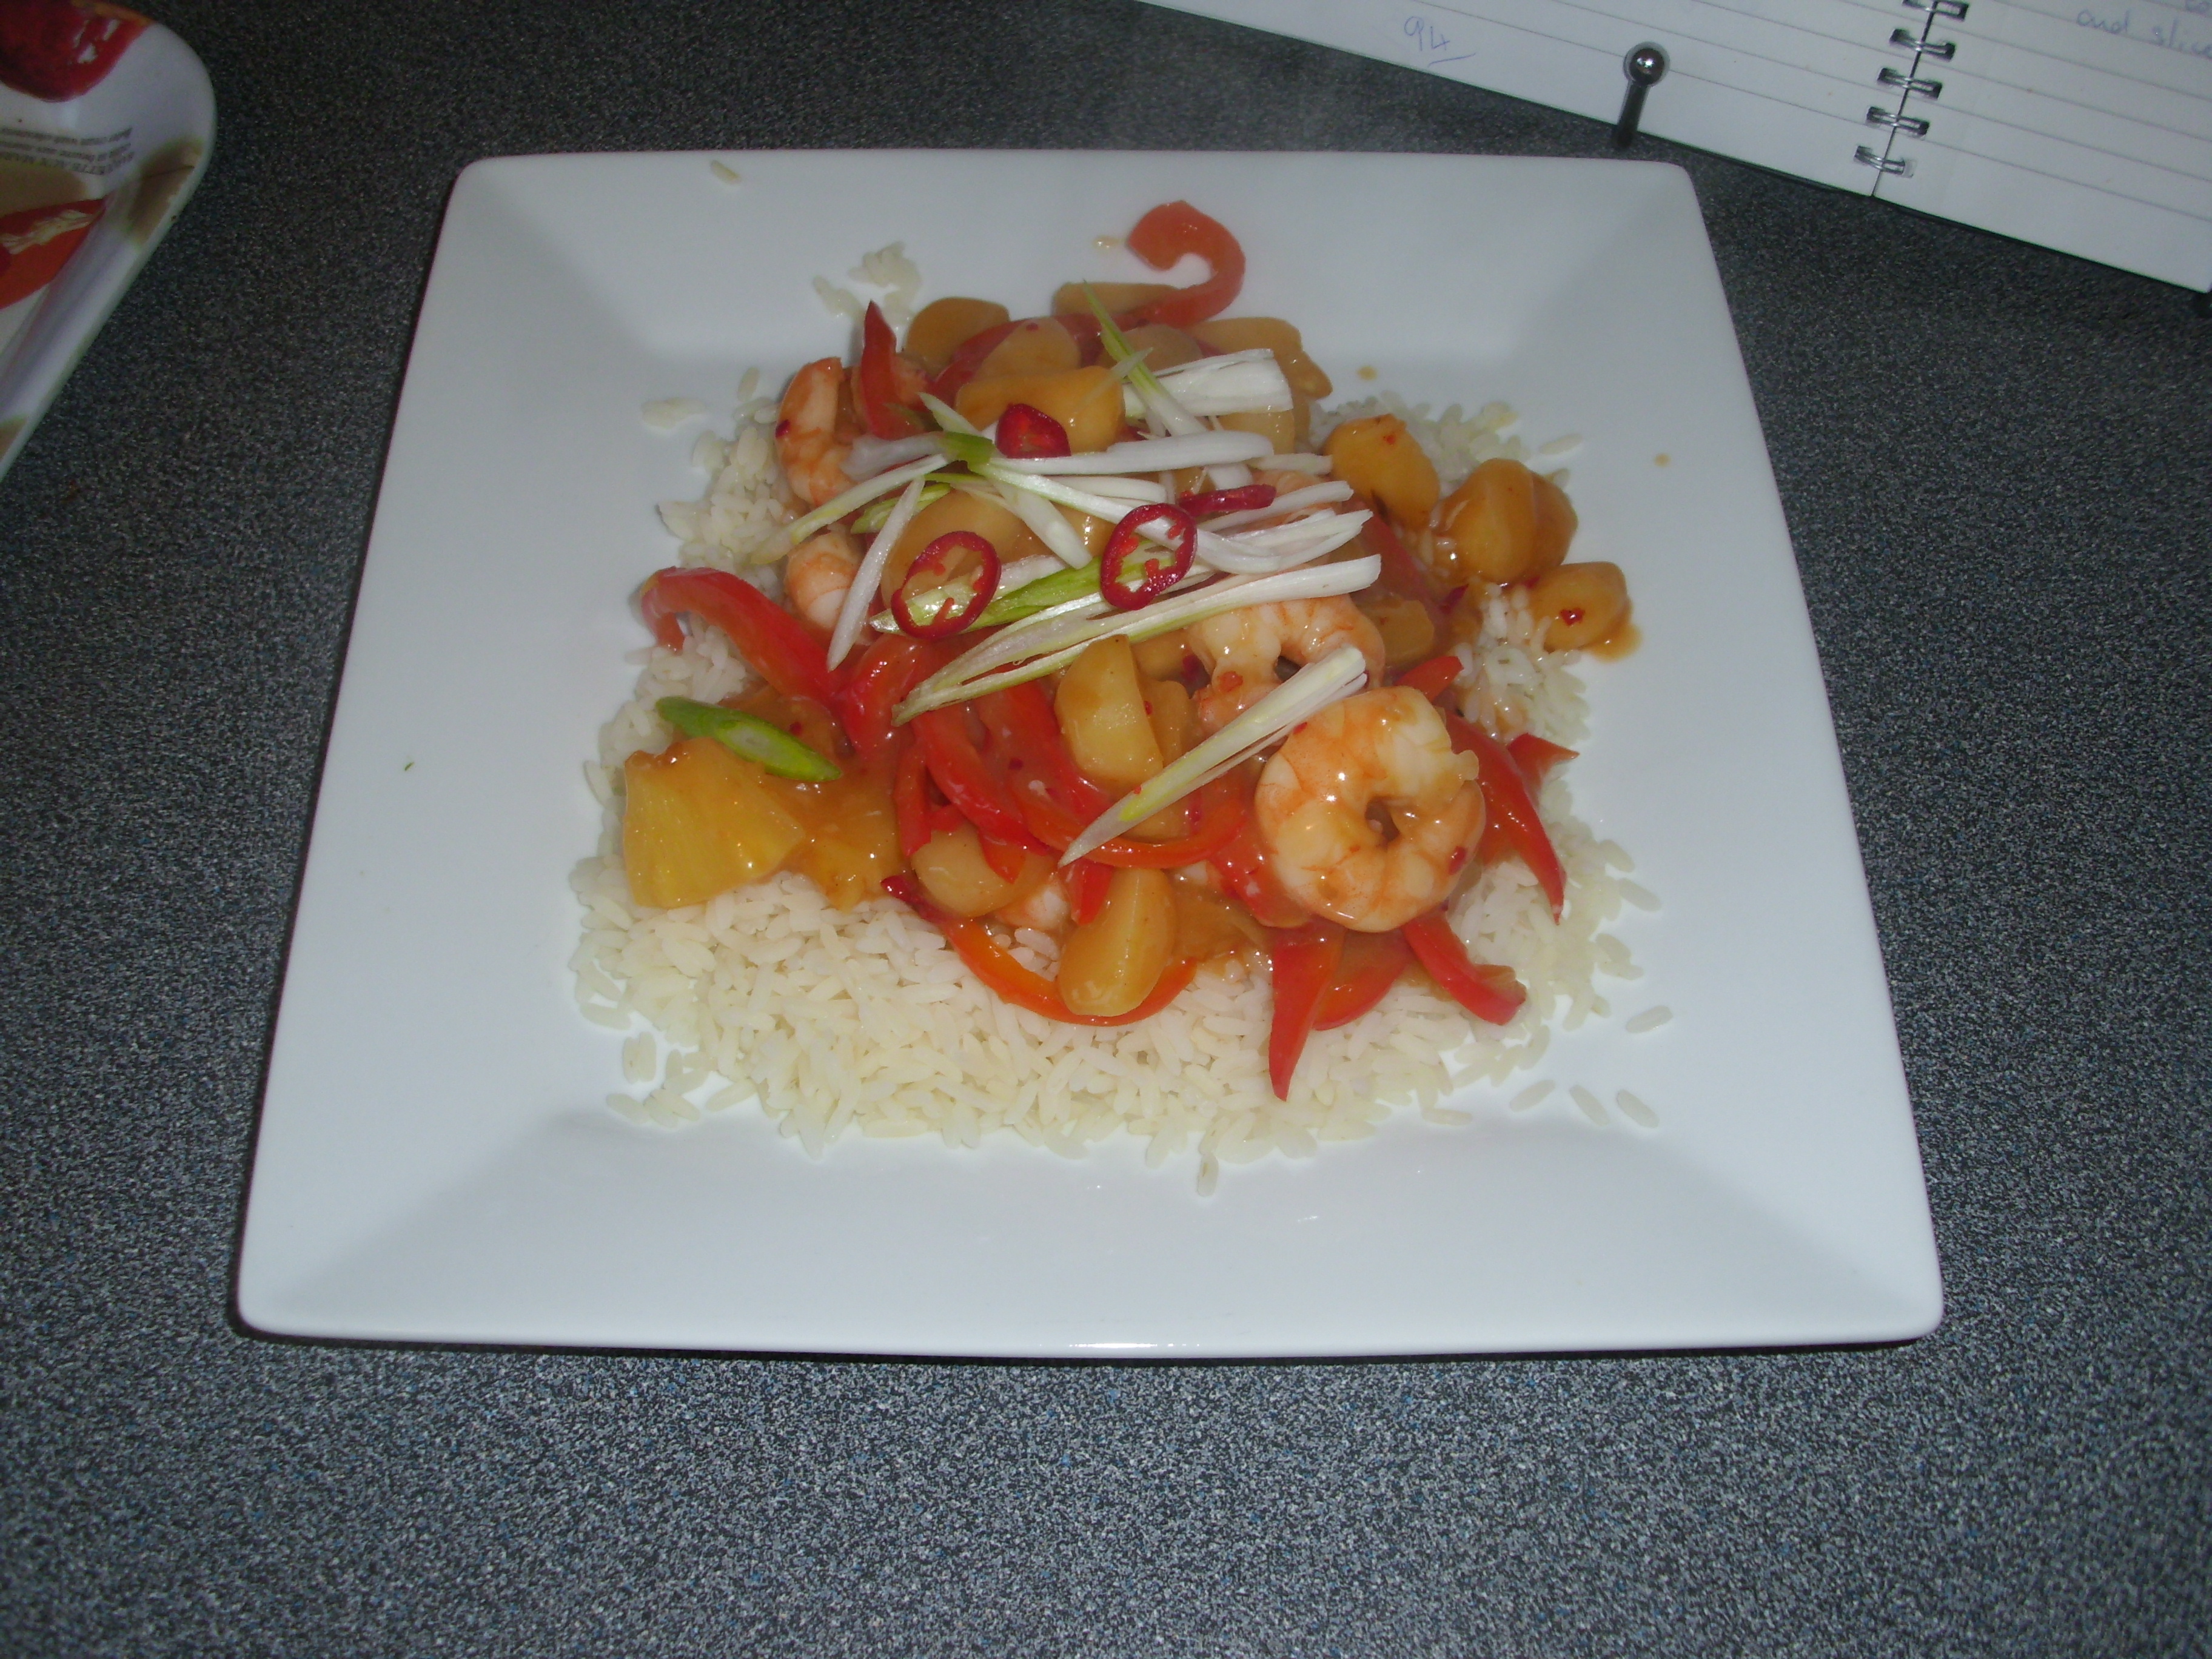
 I love Chinese food.  Come to think of it, I love most food, which is why I will never be anorexic!  Still, Chinese food is one of my favourites, and Sweet and Sour dishes are usually my choice off the menu when we eat out.  Last night I made an old favourite, Sweet and Sour Prawns.  Terry, my husband, always insists that he hates sweet and sour dishes. The fact that he did not leave even one grain of rice on his plate says everything about this recipe.  Another thing that amazes me is that it didn’t make my husband sneeze!! He always sneezes when we go out for a Chinese meal.  I wonder if it is the monosodium glutamate? 

Sweet and Sour sauce originated in China, particularly in the North-east of China.  It is cheap to make and, because of this, it is sometimes known in China as the people’s sauce.  This local name probably reflects the fact that it was once, distributed by the Chinese Communist Party during the Cultural Revolution.  Often, in China, this is a dipping sauce rather than one added to the wok to produce a dish we are familiar with in the UK.  Perhaps one of the most famous exceptions to this is Cantonese Sweet and Sour Pork.

I love this recipe.  I think it’s the fact it includes chillies.  They give the dish a heat that enhances the flavour in a spectacular way.  It is quick and easy, and only contains 161 calories! I served it with plain boiled rice but I think it would be good with noodles as well.  Give it a try, but be warned, you may find you will be disappointed afterwards if you choose this at the local Chinese restaurant!  The recipe is from the Delicious Website.  I have included my own photographs to demonstrate each step.  My advice would be to prepare everything before starting to cook as the cooking time is less than 10 minutes altogether, so there is very little time to waste if you don’t want to overcook the ingredients.

Sweet and Sour prawns

 www.deliciousmagazine.co.uk/recipes/sweet-and-sour-prawns

This slideshow requires JavaScript.

Mini chicken pies, ideal for a packed lunch, buffet or, in the summer, a picnic

9 Jul

Here we are again with leftover roast chicken.  I thought, this time, I would make a chicken pie.  I wasn’t sure what to put in the filling but I know leeks go well with chicken, as does tarragon, so I decided to include those in the ingredients.  The other consideration was the calorie content.  As you may remember, I am trying to watch what I eat in a hopeless attempt to lose weight, or at least not to put any more on!  If I make a large pie I know we will keep eating it until it is all gone.  So I decided to make small individual pies.  I was so pleased with the end result.  I’m sure these would freeze well, uncooked, but I made the mistake of putting them all in one muffin pan so I’m going to try freezing them cooked and see how they turn out.  That is if I can stop my husband, Terry, from eating them!

These are perfect for a picnic.  There is something so very English about picnics.  Mrs Beeton certainly thought so, although I think you would need a lorry to carry her idea of a picnic ie it should contain no less than 35 different dishes.  I’m not sure how many guests she had invited. 

Picnics have been quoted in literature for centuries but, perhaps the most famous quote is from the Wind in the Willows:

“The Rat brought the boat alongside the bank, tied it up, helped awkward Mole safely ashore and swung out the picnic basket. The Mole begged to be allowed to unpack it all by himself. He took out all the mysterious packages one by one and arranged their contents, gasping ‘Oh my! Oh my!’ At each fresh surprise”.

Anyway, here is my recipe.  I hope you enjoy them as much as we did.

Mini Chicken Pies   Makes about 12

  • 1lb shortcrust pastry (homemade is great or bought is fine)
  • 25g/1oz unsalted butter
  • 1 leek, washed well and chopped
  • 2 tbsp plain flour
  • 500 ml/1 pt semi-skimmed milk
  • 1 tsp dried tarragon
  • 250g/1/2lb cooked chicken, cut into small pieces (about 1/2 inch)
  • 50g/2oz frozen peas
  • Salt and pepper
  • 1 beaten egg
  1. Preheat an oven to 190c/180c fan/gas 5.
  2. Melt the butter in a saucepan, add the leeks and saute gently for about 10 minutes until soft but not discoloured.
  3. Stir in the flour and cook for about 1 minute over a low heat.
  4. Gradually add the milk, stirring between each addition to prevent curdling.  Cook over a medium heat, stirring, until the sauce is thickened.  Add the tarragon, and season with salt and black pepper.  Mix well.
  5. Add the chicken and peas, stir so they are evenly distributed.  Remove from heat and allow to cool.
  6. Roll out the pastry and cut out circles large enough to fill a muffin tin with a little overhang.  Fill the pastry case to just below the top.  Brush edges with beaten egg.  Place lid on top and tuck in around the edge.  Bring over the overhanging pastry to ensure the contents are secure.
  7. Brush tops with the beaten egg.
  8. Bake in oven for 30 minutes.  Remove from oven and leave in tin for a few minutes.  Remove to a wire tray.  Serve immediately for hot or leave to cool.  Good either way.

This slideshow requires JavaScript.

Thai fish curry – fragrant and not too hot

5 Jul

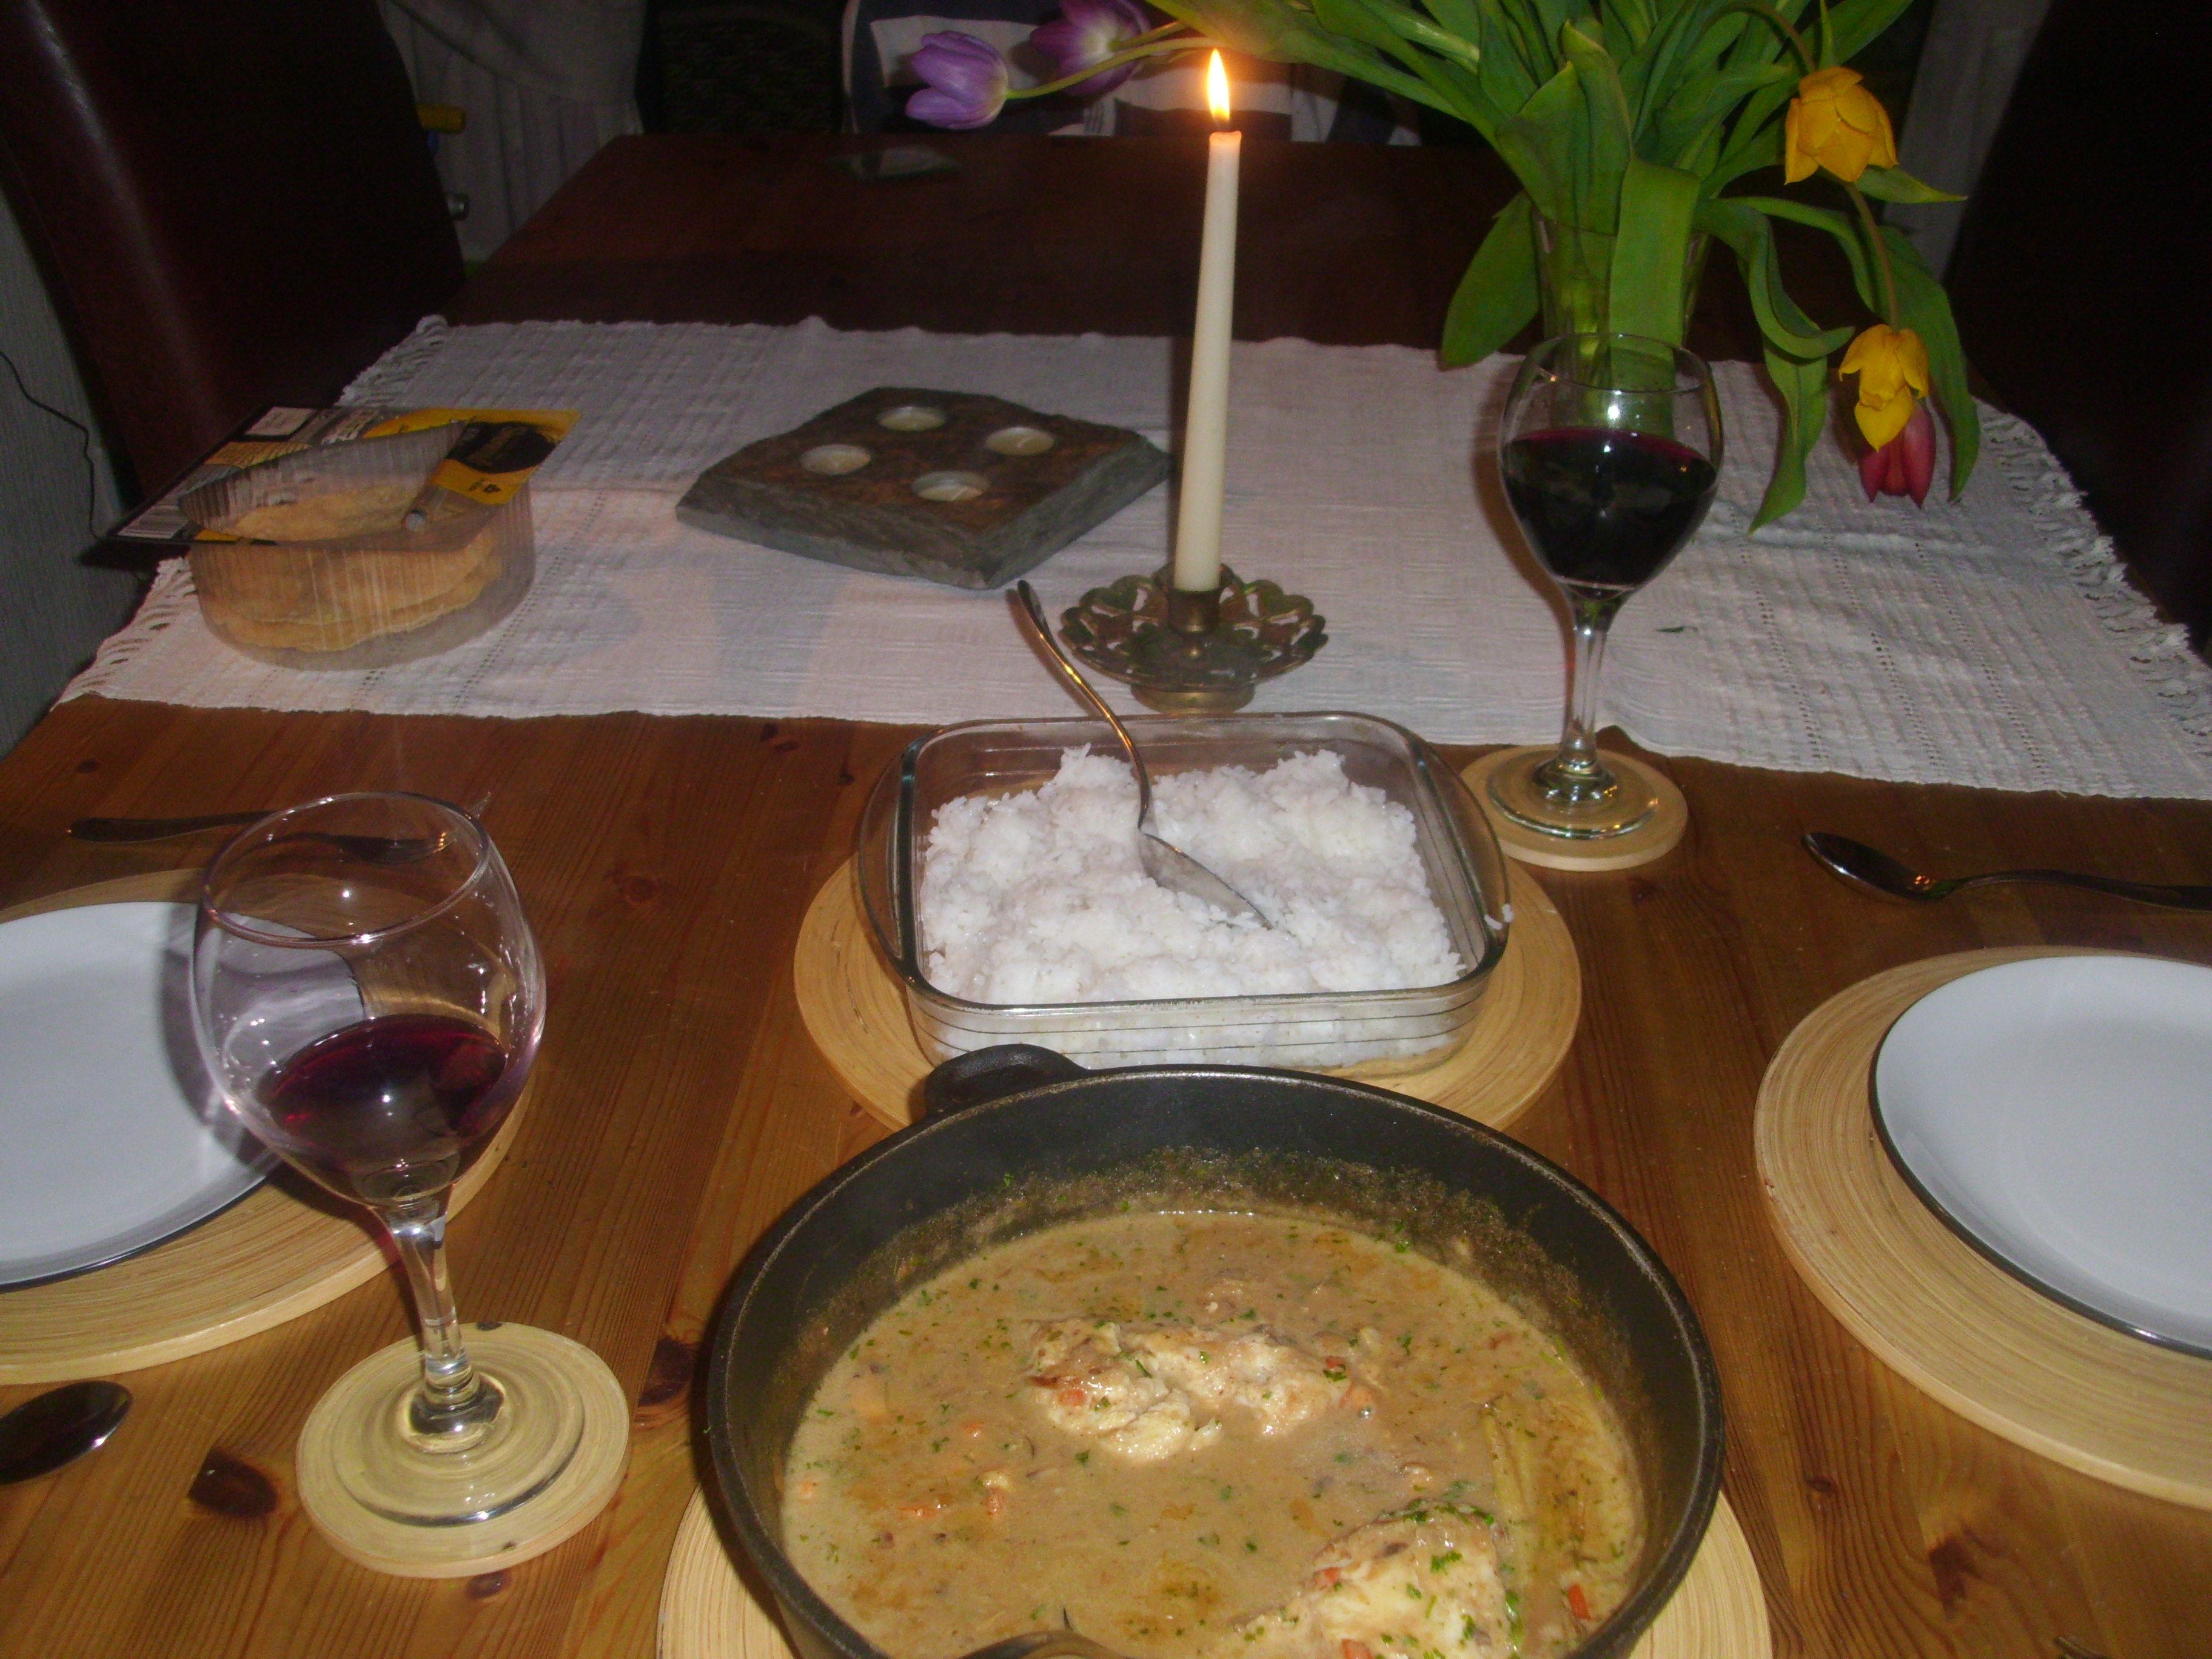
DSCI0637I love the flavours of Thai food. The freshness of the limes and lemongrass and the warmth of the chillies. This curry is slightly different as it has added depth by the addition of curry powder. The end result is a fragrant curry that is not too hot. It is really easy to make and, as the sauce is made first, you can make this in advance and either finish it off when you are ready to eat or freeze for another day then thaw and continue by adding the fish when the sauce has heated up. This flexibility makes it a great dish to come home to after work or for a dinner party when you can use the free time to socialise with your guests.

Fish curry                  Serves 4

  • 1 tbsp groundnut oil
  • 1 onion, finely chopped
  • 1 heaped tsp ginger paste
  • 1 tsp garlic paste
  • 1 tsp shrimp paste
  • 1 red chilli, sliced (omit the seeds if you don’t like it hot)
  • 2 lemongrass stalks, outer leaves removed and bruised
  • 1 heaped tbsp medium curry powder
  • 1 tbsp light brown sugar
  • small bunch coriander, stems finely chopped
  • 400g can coconut milk
  • 4 fillets of firm white fish, skinless. I used cod but you could use hake. Cut into 3 inch pieces
  • 200g raw king prawns
  • Juice of a lime
  1. Heat the oil in a large frying pan or skillet and fry the onion until softened, about 5 minutes, over a medium heat. Stir in the ginger, garlic and shrimp pastes and the chilli and lemongrass. Cook over a low heat for 1 minute, stirring so it doesn’t burn.
  2. Add the curry powder and sugar. When the sugar is melted add the coriander stems, coconut milk and 2 tbsp water then bring to a simmer.  You can freeze at this stage if you want to.
  3. Add the fish and the prawns to the sauce then squeeze over half the lime juice. Cover and simmer for 7 minutes until the fish is cooked through and the prawns are pink. Taste for seasoning and add a little more lime juice if you like. Scatter with the coriander leaves and serve hot with boiled rice.

This slideshow requires JavaScript.

Beef in Oyster Sauce, better than a take away

19 Jun

DSCI0632OK, so all my followers will know by now that I love Chinese food.  I also like Ken Hom recipes so this dish was a reasonably safe bet to turn out well. I was not disappointed.  Mind you, I did go all out with the beef and bought fillet steak. Some may think this was a waste but my husband is really fussy about meat and hates chewy bits in recipes where the meat is in a sauce and so they are well disguised.  This beef just melted in our mouths and was absolutely delicious. In actual fact, there wasn’t that much difference in the price of the fillet to other steaks so I feel my choice was justified.

Another essential is your choice of oyster sauce. Some oyster sauces taste fishy so buying the best you can afford always pays in the end. Ken Hom recommends Lee Kum Kee sauce found in most major supermarkets.

The dish is very savoury so goes well with plain boiled rice.

Here is a link to the recipe on the Good Food website:

http://www.bbcgoodfood.com/recipes/stir-fried-beef-oyster-sauce 

This slideshow requires JavaScript.

Lamb Tagine – prepare ahead for an easy life!

15 Jun

 I picked up a leg of lamb today. half price. from the supermarket and I am going to make a Lamb Tagine.  The recipe looks easy enough and I can prepare it ahead. I think it will actually improve with standing and it will give me a chance to use my new Tagine pot!  Lots of good reasons then to make it.

Tagine is a dish from North Africa, named after the earthenware pot it is cooked in.  The traditional Tagine has a flat circular base with low sides and a dome-shaped top.  The top is shaped like this to allow the steam to condense and return to the stew below, keeping the moisture in.  There is a knob at the top to facilitate easy removal of the top to allow additions to the stew whilst it is cooking.

Moroccan tagines are slowly braised at low temperatures.  This results in meltingly tender meat in aromatic sauces.  This cooking process is ideal for cheap cuts of meat so many recipes will use cheap cuts of lamb or chicken.  You will often find they include sweet ingredients such as dried fruits, preserved lemons and honey.  They will always, however, include spices, traditionally these will be a mix of  cinnamon, ginger, turmeric and paprika.  I used a leg of lamb, boned and cut into cubes, because my husband hates fat or chewy lamb.  The cooking time was almost halved, but I have kept the recipe as intended, ie, using cheaper cuts of lamb.

For years I would avoid cooking this meal.  I am not a lover of stews that combine meat with dried fruit and nuts.  What a fool I was!  The end result is absolutely gorgeous!!  Tagines are usually served with couscous.  I have never had any success with couscous and usually find it bland and tasteless.  This time I cheated and gave a ready mixed Moroccan couscous a try. All I had to do was add water and it was delicious.  I may have a go at making my own like this another time.  If you don’t like couscous, try serving it with rice or Orzo. I’m sure these would be just as good!

Here is the recipe.

Moroccan Lamb Tagine         Serves 6

  • 1 tbsp ground ginger
  • 1-2 tsp ground black pepper
  • 2 tsp ground cinnamon
  • 1 tbsp turmeric
  • 1.5 tbsp paprika
  • 1/2 tsp chilli powder
  • 2.5 lbs boned lamb, cut into 1 inch cubes
  • 3 cloves garlic, crushed
  • 1.2 tsp salt
  • 5 tbsp olive oil
  • 1 lb onions, finely chopped
  • 6 oz ready to eat dried apricots
  • 3 oz toasted, flaked almonds
  • 1 tbsp clear honey
  • 1/2 pt tomato juice
  • 400g can chopped tomatoes
  • 1/2 pt hot lamb stock
  • chopped coriander to garnish
  1. Heat oven to 170C/150C fan/gas 3.Mix the spices together in a small bowl then add to the lamb, mixing to coat well.
  2. Heat 1 tbsp oil in an hob to oven casserole on a high heat. Brown the lamb in batches so as not to overcrowd the pan, adding extra oil for each batch.
  3. Turn down the heat to low and add the remaining tbsp oil. add the onions and cook until softened but not browned. Add the garlic and salt towards the end of cooking.
  4. Return the lamb to the casserole and stir in the remaining ingredients. Bring to the boil and transfer to a tagine or cover the casserole and cook in the oven for 2 hours or until the lamb is meltingly tender. Check occasionally and stir to ensure it is not drying out.
  5. Serve sprinkled with the coriander.

This slideshow requires JavaScript.

Chicken Chow Mein

3 Jun

DSCI0658Whenever we go to a Chinese restaurant I am drawn to the Chow Mein section of the menu. I know it sounds boring but I do love this style of Chinese food. I have tried many times to capture the same authentic flavour and have never quite made it but not this time! this dish tastes divine. It is very authentic and, if anything, actually tastes better than the ones I have eaten in a restaurant.  The recipe is very easy but, as with all Chinese recipes, make sure you have all the food prepared beforehand as the cooking takes no time at all and many end results are spoilt because someone has to chop a food and the rest is overcooking in the wok.

The word means ‘fried noodles’, chow meaning ‘fried’ and mein meaning ‘noodles’. The pronunciation chow mein is an English corruption of the Taishanese pronunciation chāu-mèing’.

This is a Ken Hom recipe so how could it fail?  Here is a link to the recipe on the Good Food website:

http://www.bbcgoodfood.com/recipes/chow-mein

This slideshow requires JavaScript.

Mussels in a creamy curry sauce – divine!b

30 May

They say every cloud has a silver lining.  For me, when summer is over, it means that for 8 months there is a ‘R’ in the month and I can get fresh mussels.  It never fails to amaze me how many people have never tried mussels because they are put off by the look of them.  For me, they are the most delicious of all the sea foods.  I know they come bottled in vinegar and you can buy them ready cooked in the supermarket.  You can even get them vacuum packed and ready to cook, but there is absolutely no comparison to the wonderful, soft, melt-in-your-mouth morsels that are cooked from raw.

I have been making this mussel recipe for years and yet, every time I make it, the fantastic flavours still surprise me.  This time was no exception.  I could almost hear myself purring as I dipped my crusty french stick into the delicious sauce.  Wonderful!

So lets take a look at why I can’t buy mussels in months without an ‘R’.   Mussels are often regarded as poor man’s shellfish because they are cheap and plentiful. In the wild, they grow on coastline rocks and stones but the majority of mussels available in the UK are farmed in suitable coastal waters. Mussels are one of the most environmentally sound types of fish or shellfish available. There’s no hefty price tag and, what’s more, these little creatures are in abundance.  They have two shells (bivalves) through which they filter water and feed on the algae and plankton they find in it. Plankton in the water for a shellfish is like grass in a field for a cow. In this way, the shellfish are grazing upon the sea. What they’re grazing on are tiny (as small as 1/50th of a millimeter) aquatic life forms called flagellates.  One reason for this old saying is that during the summer months the flagellates bloom and become more prolific.  At this time they can create ‘red tides’ and it is these that have been associated with poisoning from shellfish.  If the mussels are farmed it is unlikely this is the cause of not being available.  More likely it is because the mussels themselves are reproducing along with the fact that it is much easier for mussels to go bad during high temperatures.

There are a few golden rules when cooking mussels.  Firstly, always wash them well and remove any ‘beard’ you see poking out between the shells.  Only ever cook mussels that are closed when raw but do not discard them until you have tried tapping them sharply with a knife.  If the mussel is still alive the shells will close as it will think this is the beak of a bird trying to eat it.  If it remains open throw it away, its dead and may well be toxic.  Once cooked, only eat the mussels that have opened sufficiently for you to see them nestled between the shells.  This last point has not really been proved but I am not going to argue with the experts.

Anyway, I really hope you give this recipe a try, it is absolutely wonderful!

Mussels in a creamy curry sauce                     Serves 2 (easily doubled)

  • 1 kg/ 2lbs 4 ozs fresh mussels
  • 150 ml/1/4 pt dry white wine
  • 2 shallots, peeled and finely chopped
  • 25 g/1 oz butter
  • 1tsp plain flour
  • 2 tsp madras curry paste (I use Pataks)
  • 100 g/4 oz creme fraiche (you can use low-fat if you are watching your weight but the sauce will be slightly thinner
  • a small handful of parsley
  1. Prepare the mussels as discussed above.  Put them in a large pan with the wine.  Cover, bring to the boil then cook over a high heat for 3-4 minutes or until all the mussels have opened.  Shake the pan a few times during this process and be careful not to overcook them.
  2. Strain the mussels over a bowl so you capture the cooking liquor.  You will need this for the sauce so don’t throw it away.  Cover the mussels with a cloth to keep them warm while you make the sauce.
  3. Fry the shallots in the butter in a frying pan until it is soft and not browned.  This will only take a couple of minutes.  Stir in the flour and curry paste and mix well.  Cook for about 1 minute.  Add the cooking liquor carefully so as not to disturb any gritty bits which will have sunk to the bottom.  Discard the last of the liquor to avoid this going into your sauce.  Season with salt and freshly ground black pepper.
  4. Reduce the heat slightly and stir in the creme fraiche until the sauce is thick and glossy.  Check the sauce is hot then add the parsley.  Divide the mussels between two large bowls and pour the sauce over.  Serve with large chunks of crusty bread to mop up the sauce.

    This slideshow requires JavaScript.